How To Fix Cracked Tile in 5 Steps
|
Quick answer: This guide will show you how to repair broken tiles by:
|
The tiles we use for backsplashes, in our bathrooms, and as a type of flooring are very strong, but they aren’t impervious to damage. If you have a cracked tile somewhere in your home, it doesn’t mean you have to replace your entire floor. Learning how to fix cracked tile is a simple kitchen or bathroom repair, but it can be a time-consuming and difficult process if you’ve never done it before.
In this guide, the Mr. Handyman® team will show you the steps to take to perform a glass or ceramic tile repair. With a few supplies and some time, you’ll be able to take care of your broken tile.
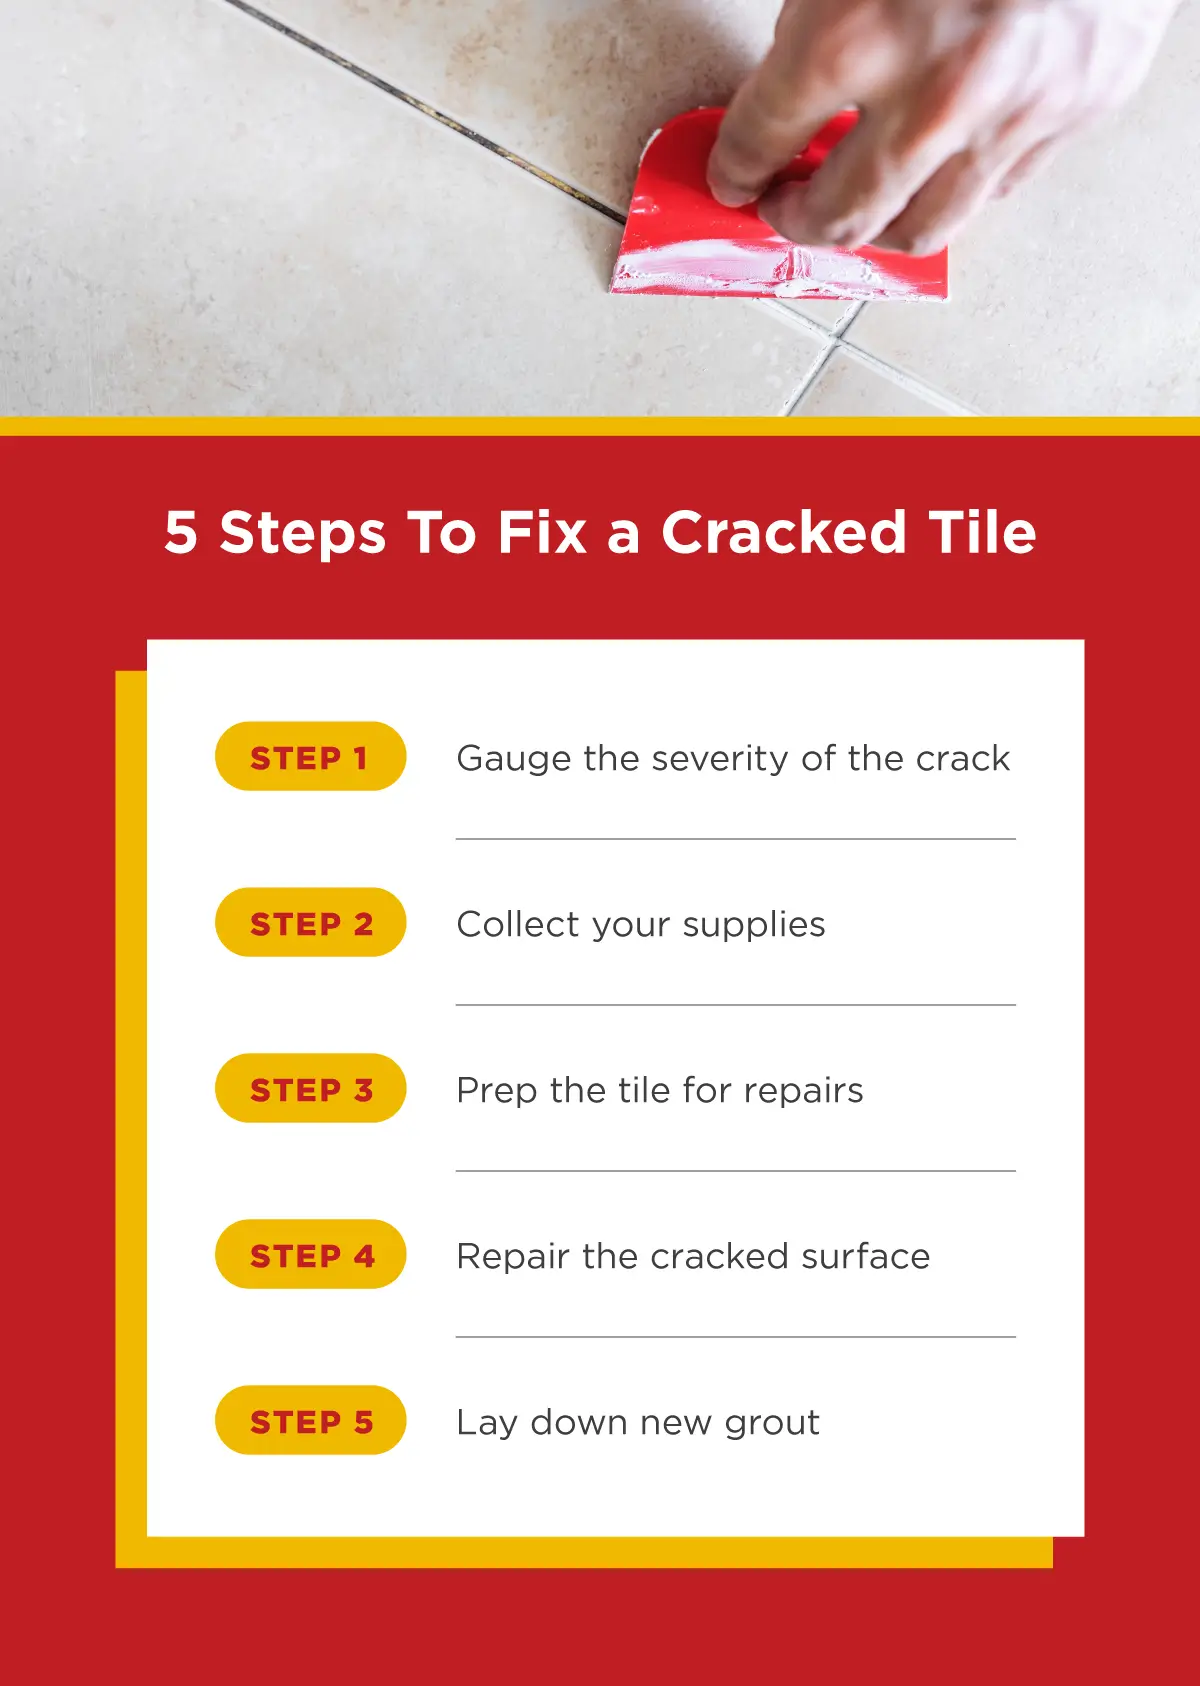
Step 1: Assess the Damage
If you’re weighing ideas for a new bathroom floor or kitchen backsplash but you have some cracked tiles, repairing them can help make your space look better again while you’re deciding.
Before you try to fix a cracked tile, you’ll need to figure out what caused it to crack in the first place. If an impact caused the damage, you can repair it without worrying about fixing underlying issues. But if the surface the tile is adhered to is damaged or uneven, fixing the tile will only be temporary. If water damage has warped a subfloor, contact a plumbing professional for help addressing the root of the problem.
Hairline cracks in a tile are usually the easiest to fix—you may be able to fix them without removing the tile. Repairing larger cracks or more extensive damage is possible, but the results won’t look as good as replacing the tile. If large sections of the tile are cracked or smashed, you may be looking at replacing the tile in your space.
Step 2: Gather Tools and Materials
If you’ve decided that the damaged tile can be fixed and the underlying surface is sound, it’s time to gather your materials and tools. Place your tools in the area around the broken tile or set up a space in a well ventilated place with an outlet like your garage or outdoors for the messy parts.
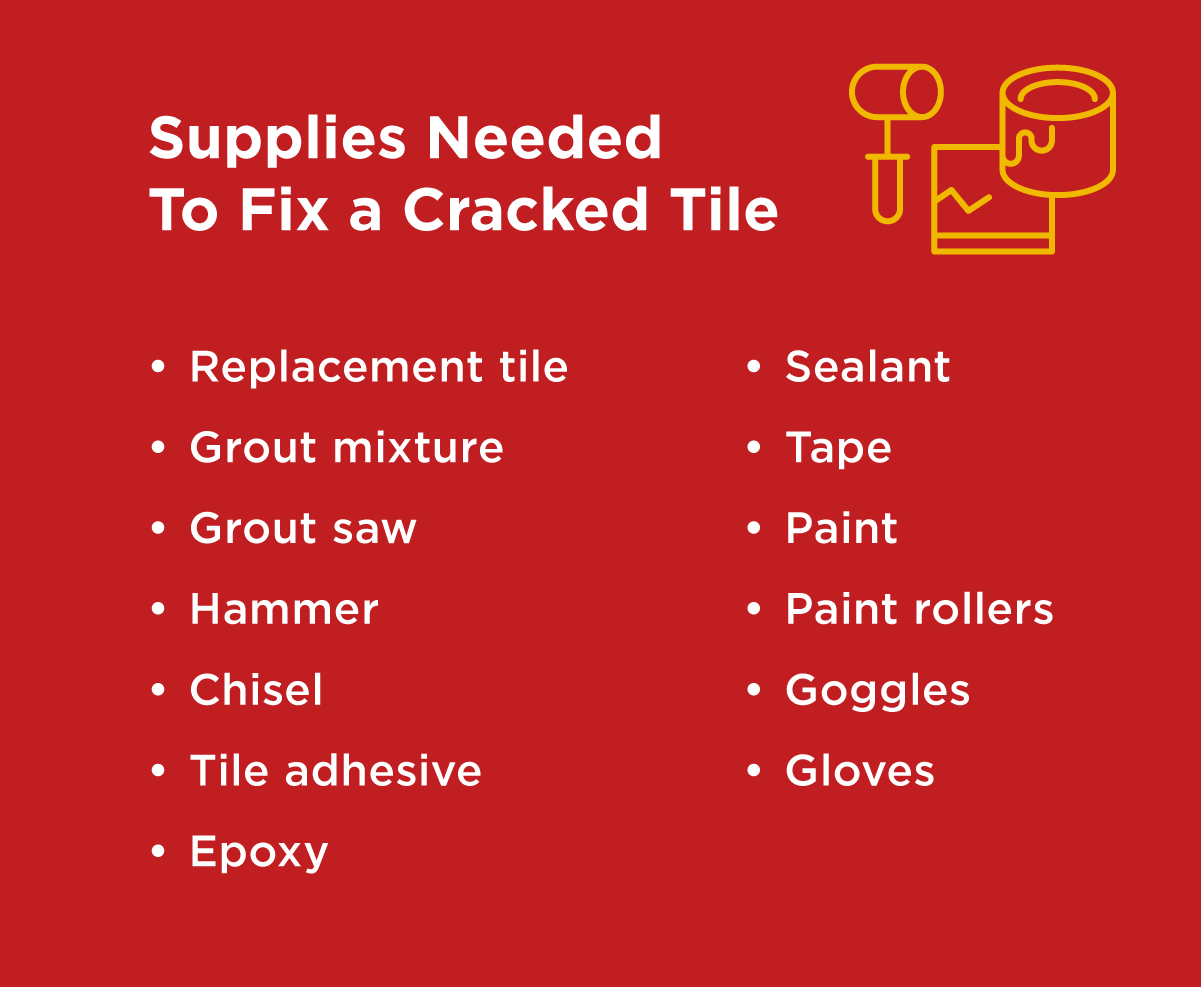
Supplies:
- Tile adhesive or epoxy
- Grout
- Sealant
- Paint
Tools:
- Goggles
- Gloves
- Tile saw
- Grout saw
- Grout float
- Hammer
- Chisel
- Paint roller
The kind of grout, adhesive, and paint you need will depend on the kind of tile you’re fixing and how you’re using the space. If you don’t have a saw for cutting tile, a local home improvement store may be able to help.

Step 3: Prepare the Cracked Tile for Repairs
If you’re dealing with a larger tile or group of tile that has extensive damage, use a grout saw for removal. Go back and forth along the grout until you can lift the damaged tile out. Note that your kitchen tile grout may react differently to the saw than shower grout, so take your time.
If you’re dealing with a small tile, use a chisel and hammer and work along the grout line.
Be extra careful during this step—if you have to use the chisel to pry out tile, go slowly to avoid damaging neighboring tile.
After you’ve removed the tile, clean the underlying surface with the broom and vacuum. Remove any adhesive so the surface is even.
Step 4: Carefully Fix the Crack
Once the tile is free, use the adhesive or epoxy to stick the pieces back together like it was a puzzle. If there are multiple cracks or heavily damaged areas, use the epoxy as a cracked tile filler to fill in gaps as best as you can.
Use clamps to hold the tile together from the sides, and place weights on top of the tile until the adhesive cures. A heavily damaged tile might not be in its original shape or size, but when you reinstall it, some additional grout will fill in the space between tiles.
Step 5: Apply New Grout
After your repair tile has cured, mix the grout and apply it to the work area with the grout float. Replace the tile (making sure that the replaced tile aligns with your tile pattern), finish the grout, and let it dry.
Sand the adhesive down until it’s even with the rest of the tile. Clean up any dust with a cloth. Paint over the epoxy and then apply the sealant. If you are replacing a shower tile, use water-resistant grout, paint, and sealant.

How To Fix a Cracked Tile Without Replacing It
Replacing a broken floor tile or backsplash with a new one is usually faster than trying to repair a badly damaged tile. But if your tile has a small crack, you may be able to repair it without removing the tile, fixing it, and then reinstalling it (or replacing it with a new tile).
For hairline cracks:
- Sweep the area on and around the cracked tile.
- Wipe the tile with a clean rag.
- Mix the epoxy according to the manufacturer’s directions and apply a thin coat over the crack.
- Let the epoxy cure (it could take several hours), then gently sand it down until it’s even with the tile’s surface.
- Paint over the epoxy and let the paint dry.
If you have difficulty with this process, hiring a professional to repair your floor or backsplash could save you a lot of time and frustration. It’s also good to discuss bathroom tile ideas with an expert, whether you’re planning to remodel your shower or install a new backsplash.
Tips for Fixing Cracked Tiles
Every cracked tile is different, but there are some best practices that can help make your DIY tile repairs better.
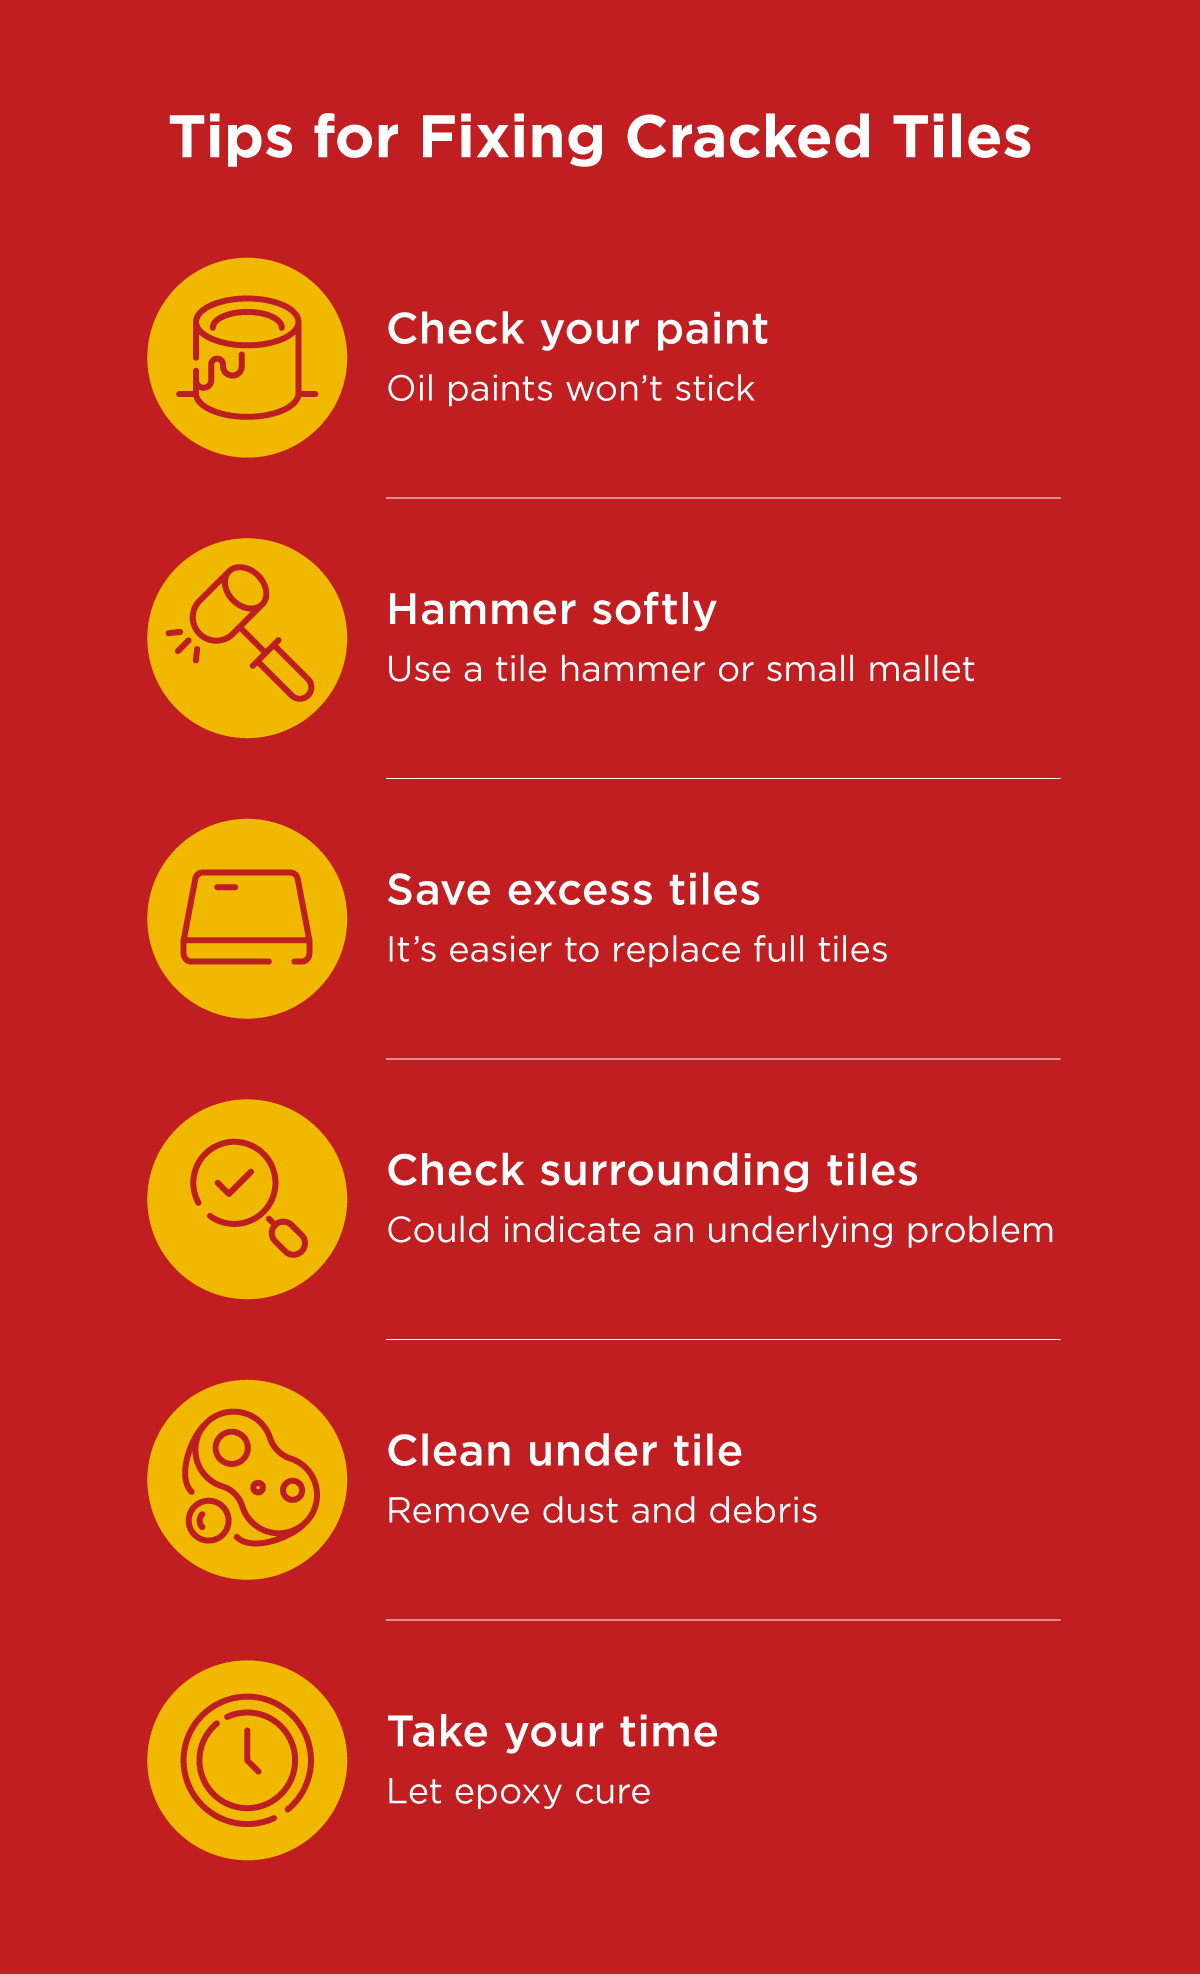
- Use the right kind of paint on tiles: Oil paint usually won’t adhere.
- Hammer gently: Use a tile hammer or small mallet to help remove a tile.
- Don’t get rid of extra tiles: Accidents happen. Keep leftover tiles from the original installation. Patterns are often discontinued and finding matching replacements is often hard or even impossible.
- Check if other tiles are affected by the crack: It could mean there’s a problem under the surface.
- Clean up under the tile: Remove any adhesive, dirt, or debris to make the tile lay flat.
- Be patient: Let the epoxy cure completely before reinstalling a tile.
It’s important to know your limitations when working on tile. While you might be able to handle a hairline crack in a ceramic floor tile, repairing a break in a glass tile backsplash could be more complicated. Contact a service professional like Mr. Handyman to learn about your options, especially if you’re thinking about a large bathroom remodel project.

How To Maintain Tiled Surfaces
One of the many benefits of tile is that it’s durable and easy to maintain. Plus, taking care of tile is easier than learning how to replace a broken tile. With the right maintenance schedule, you can help your tile look great and last for many years.
- Avoid impacts to your tile.
- Don’t install tile in parts of the home with extreme temperatures.
- Clean up water and other liquids.
- Only install tile on correctly prepared surfaces.
- Use the right kind of adhesives and grout—especially in rooms with lots of humidity.
Even with the best maintenance and care, accidents happen. If a tile repair project feels like it’s getting out of hand, don’t hesitate to call an expert.
Contact Mr. Handyman for Help With Cracked Tile Repair
Knowing how to fix cracked tile isn’t as easy as actually doing the work. If you have valuable tile or want to make sure a repair is done correctly, trust a professional who knows how to repair tile.
Contact Mr. Handyman today for all of your remodeling and home repair needs. Our team of local professionals has the tools and experience to complete any job quickly and correctly.
This article is intended for general informational purposes only and may not be applicable to every situation. You are responsible for determining the proper course of action for your home and property. Mr. Handyman is not responsible for any damages that occur as a result of this blog content or your actions. For the most accurate guidance, contact your local Mr. Handyman location for a comprehensive, on-site assessment.
How To Fix Cracked Tile FAQs
Mr. Handyman has been helping homeowners repair, maintain, and enhance their spaces for over 25 years! We are the one-stop solution for everything on your to-do list. This includes answering your questions about home repairs, maintenance, and improvements. Here are answers to some of your most frequently asked questions about how to fix cracked tile.
How can I fix hairline cracks in tiles?
To fix hairline cracks in tiles, clean the tile, then apply a layer of tile adhesive or epoxy into the crack and along the surface of the crack. Let the adhesive cure, sand it down, then apply tile paint.
Why are my tiles cracking?
Tiles can crack for many reasons. An impact caused by a dropped or thrown item can crack tile, extreme temperatures, and seismic events can cause tiles to shift and crack, and damage to the subfloor can damage them. Improperly preparing a surface before tiling can create problems down the line, too.
Can you superglue a cracked tile?
Yes, some superglues can be used to repair cracked tiles. Check that the glue is designed to be used with tile before you try. Squirt the glue into the crack and along the surface, let it set, sand the glue, and then apply paint.
Can you put peel-and-stick tile over a cracked tile?
You can put peel-and-stick tile over a cracked tile but it might not create the results you want. If a tile has a small crack, try epoxy first. If a tile is broken in multiple places, removing and replacing it will make it look better (and more even). Peel-and-stick tiles work best when placed on even, unbroken surfaces.
Do cracked tiles need to be replaced?
Cracked tiles don’t always need to be replaced, but they should be repaired. A cracked tile will only worsen over time. Using a tile adhesive or epoxy to fill in hairline cracks will prevent the damage from spreading.
 Click to call


